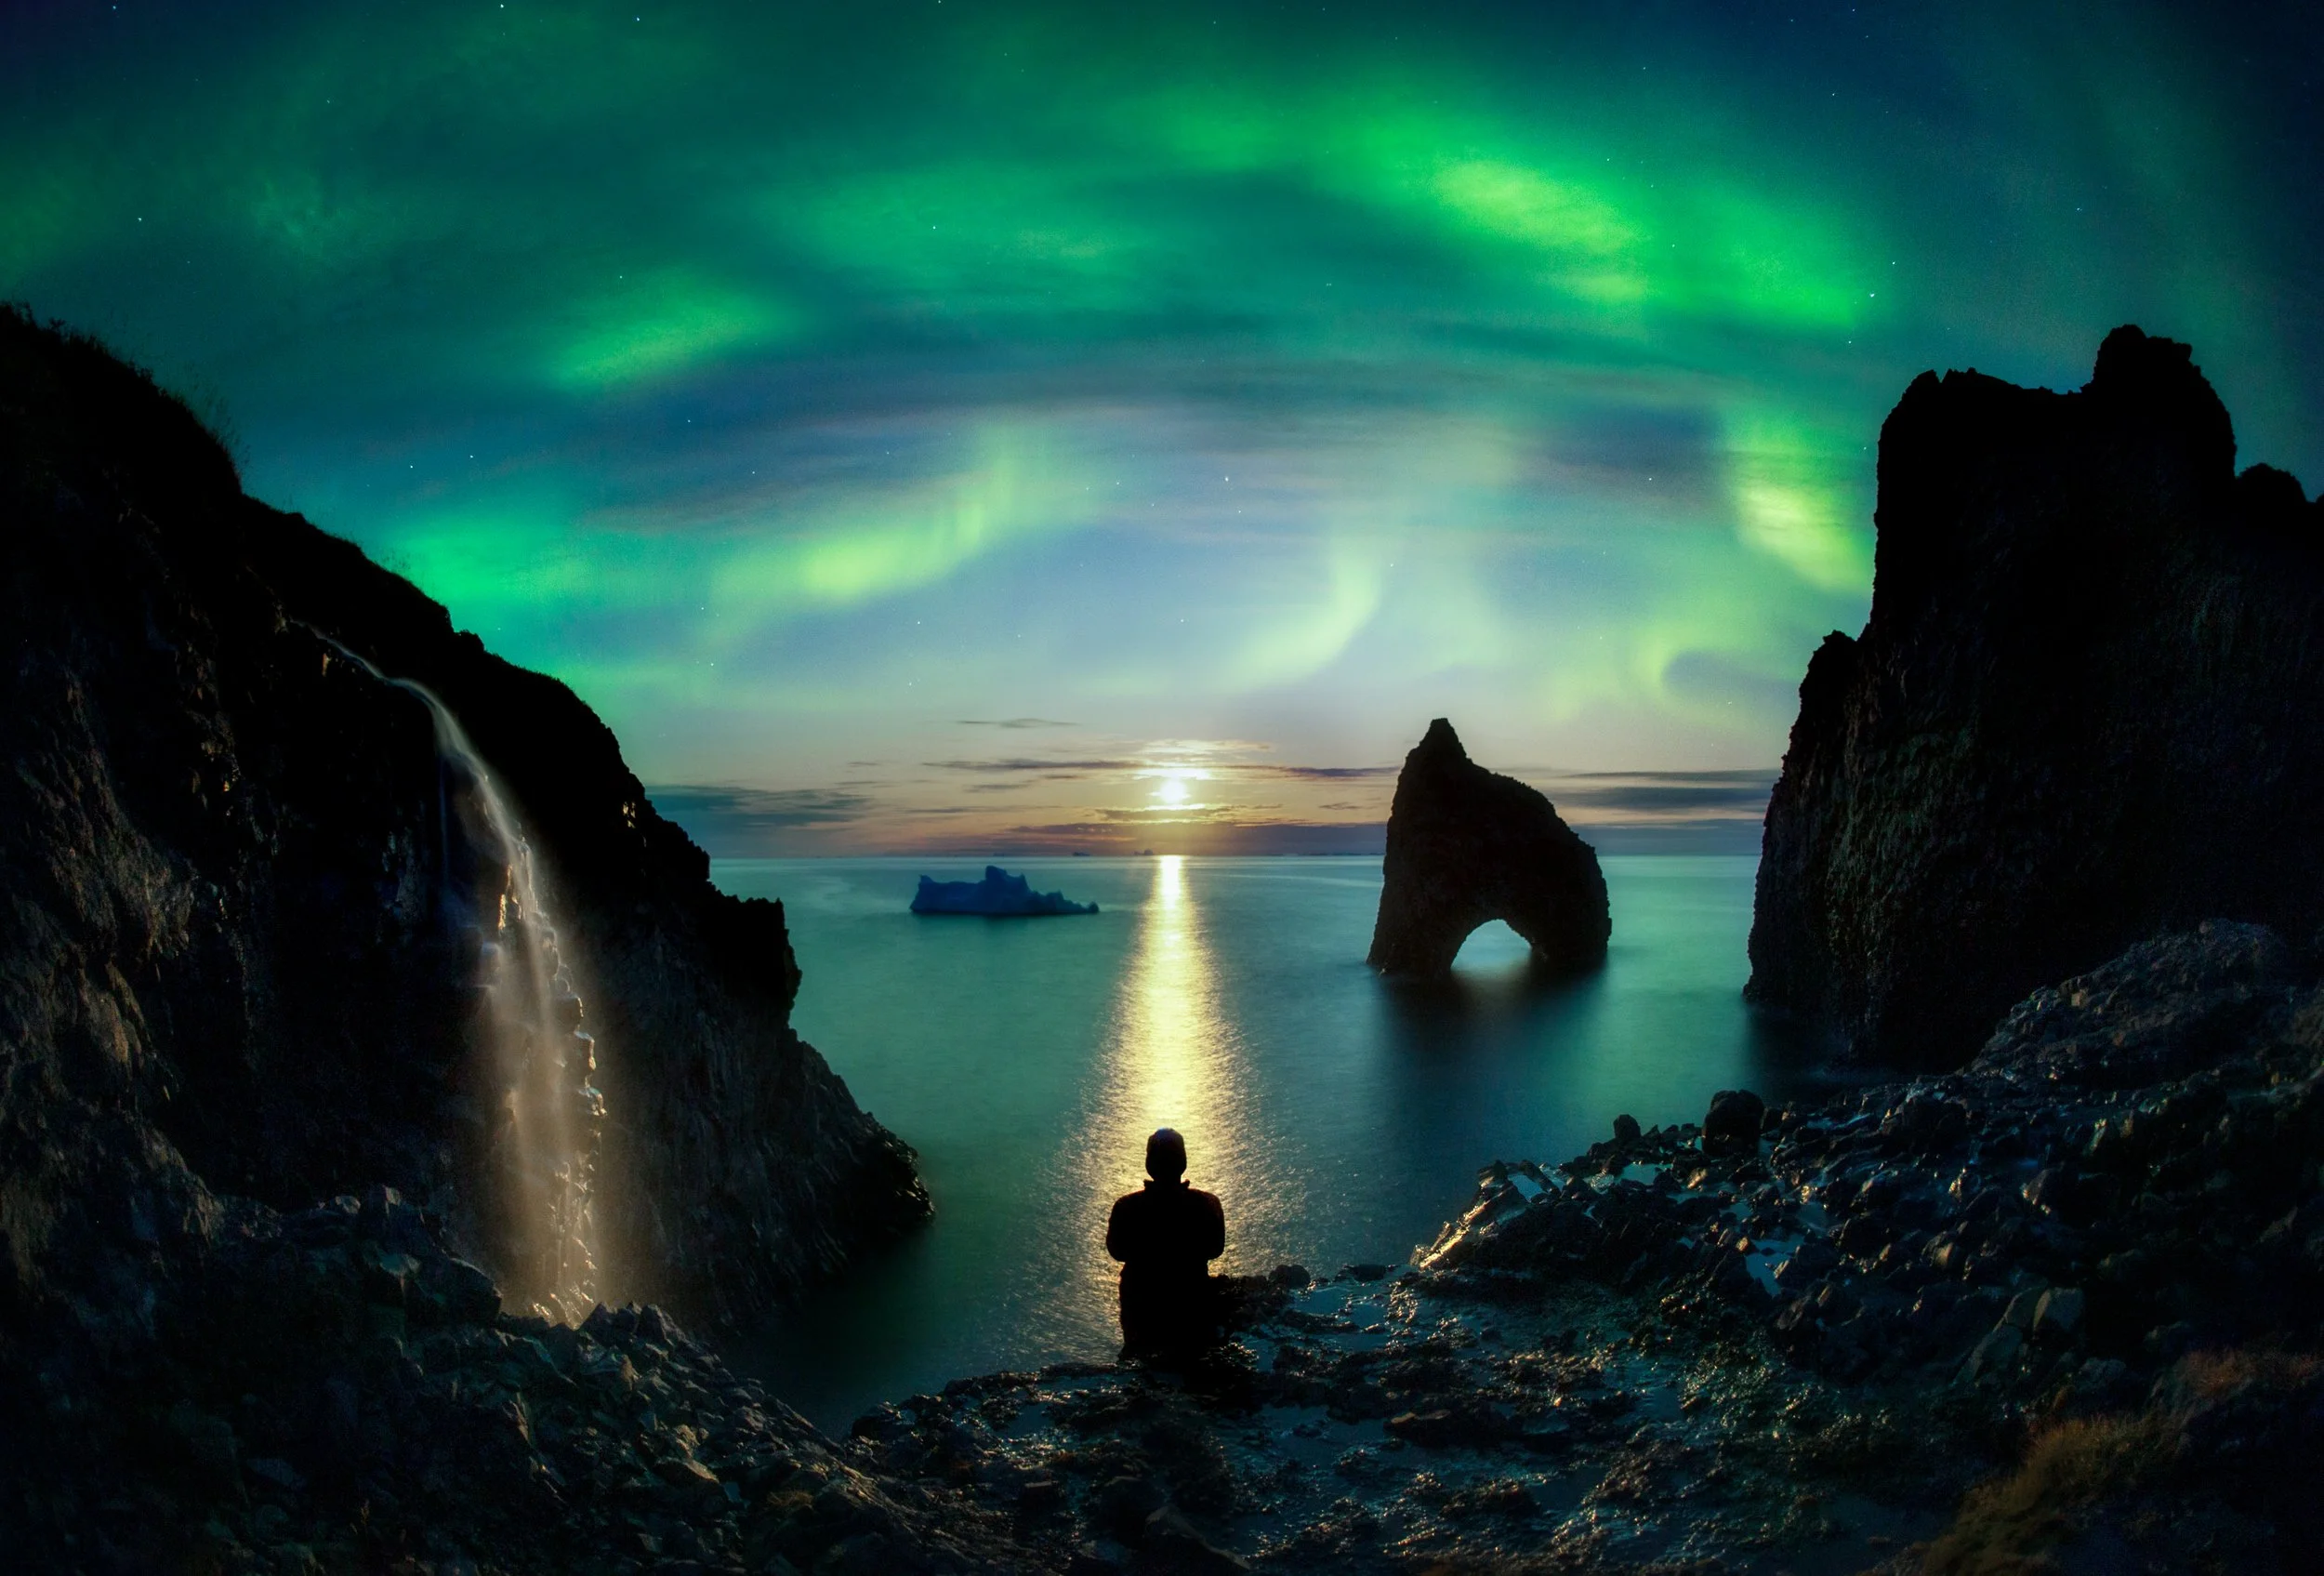
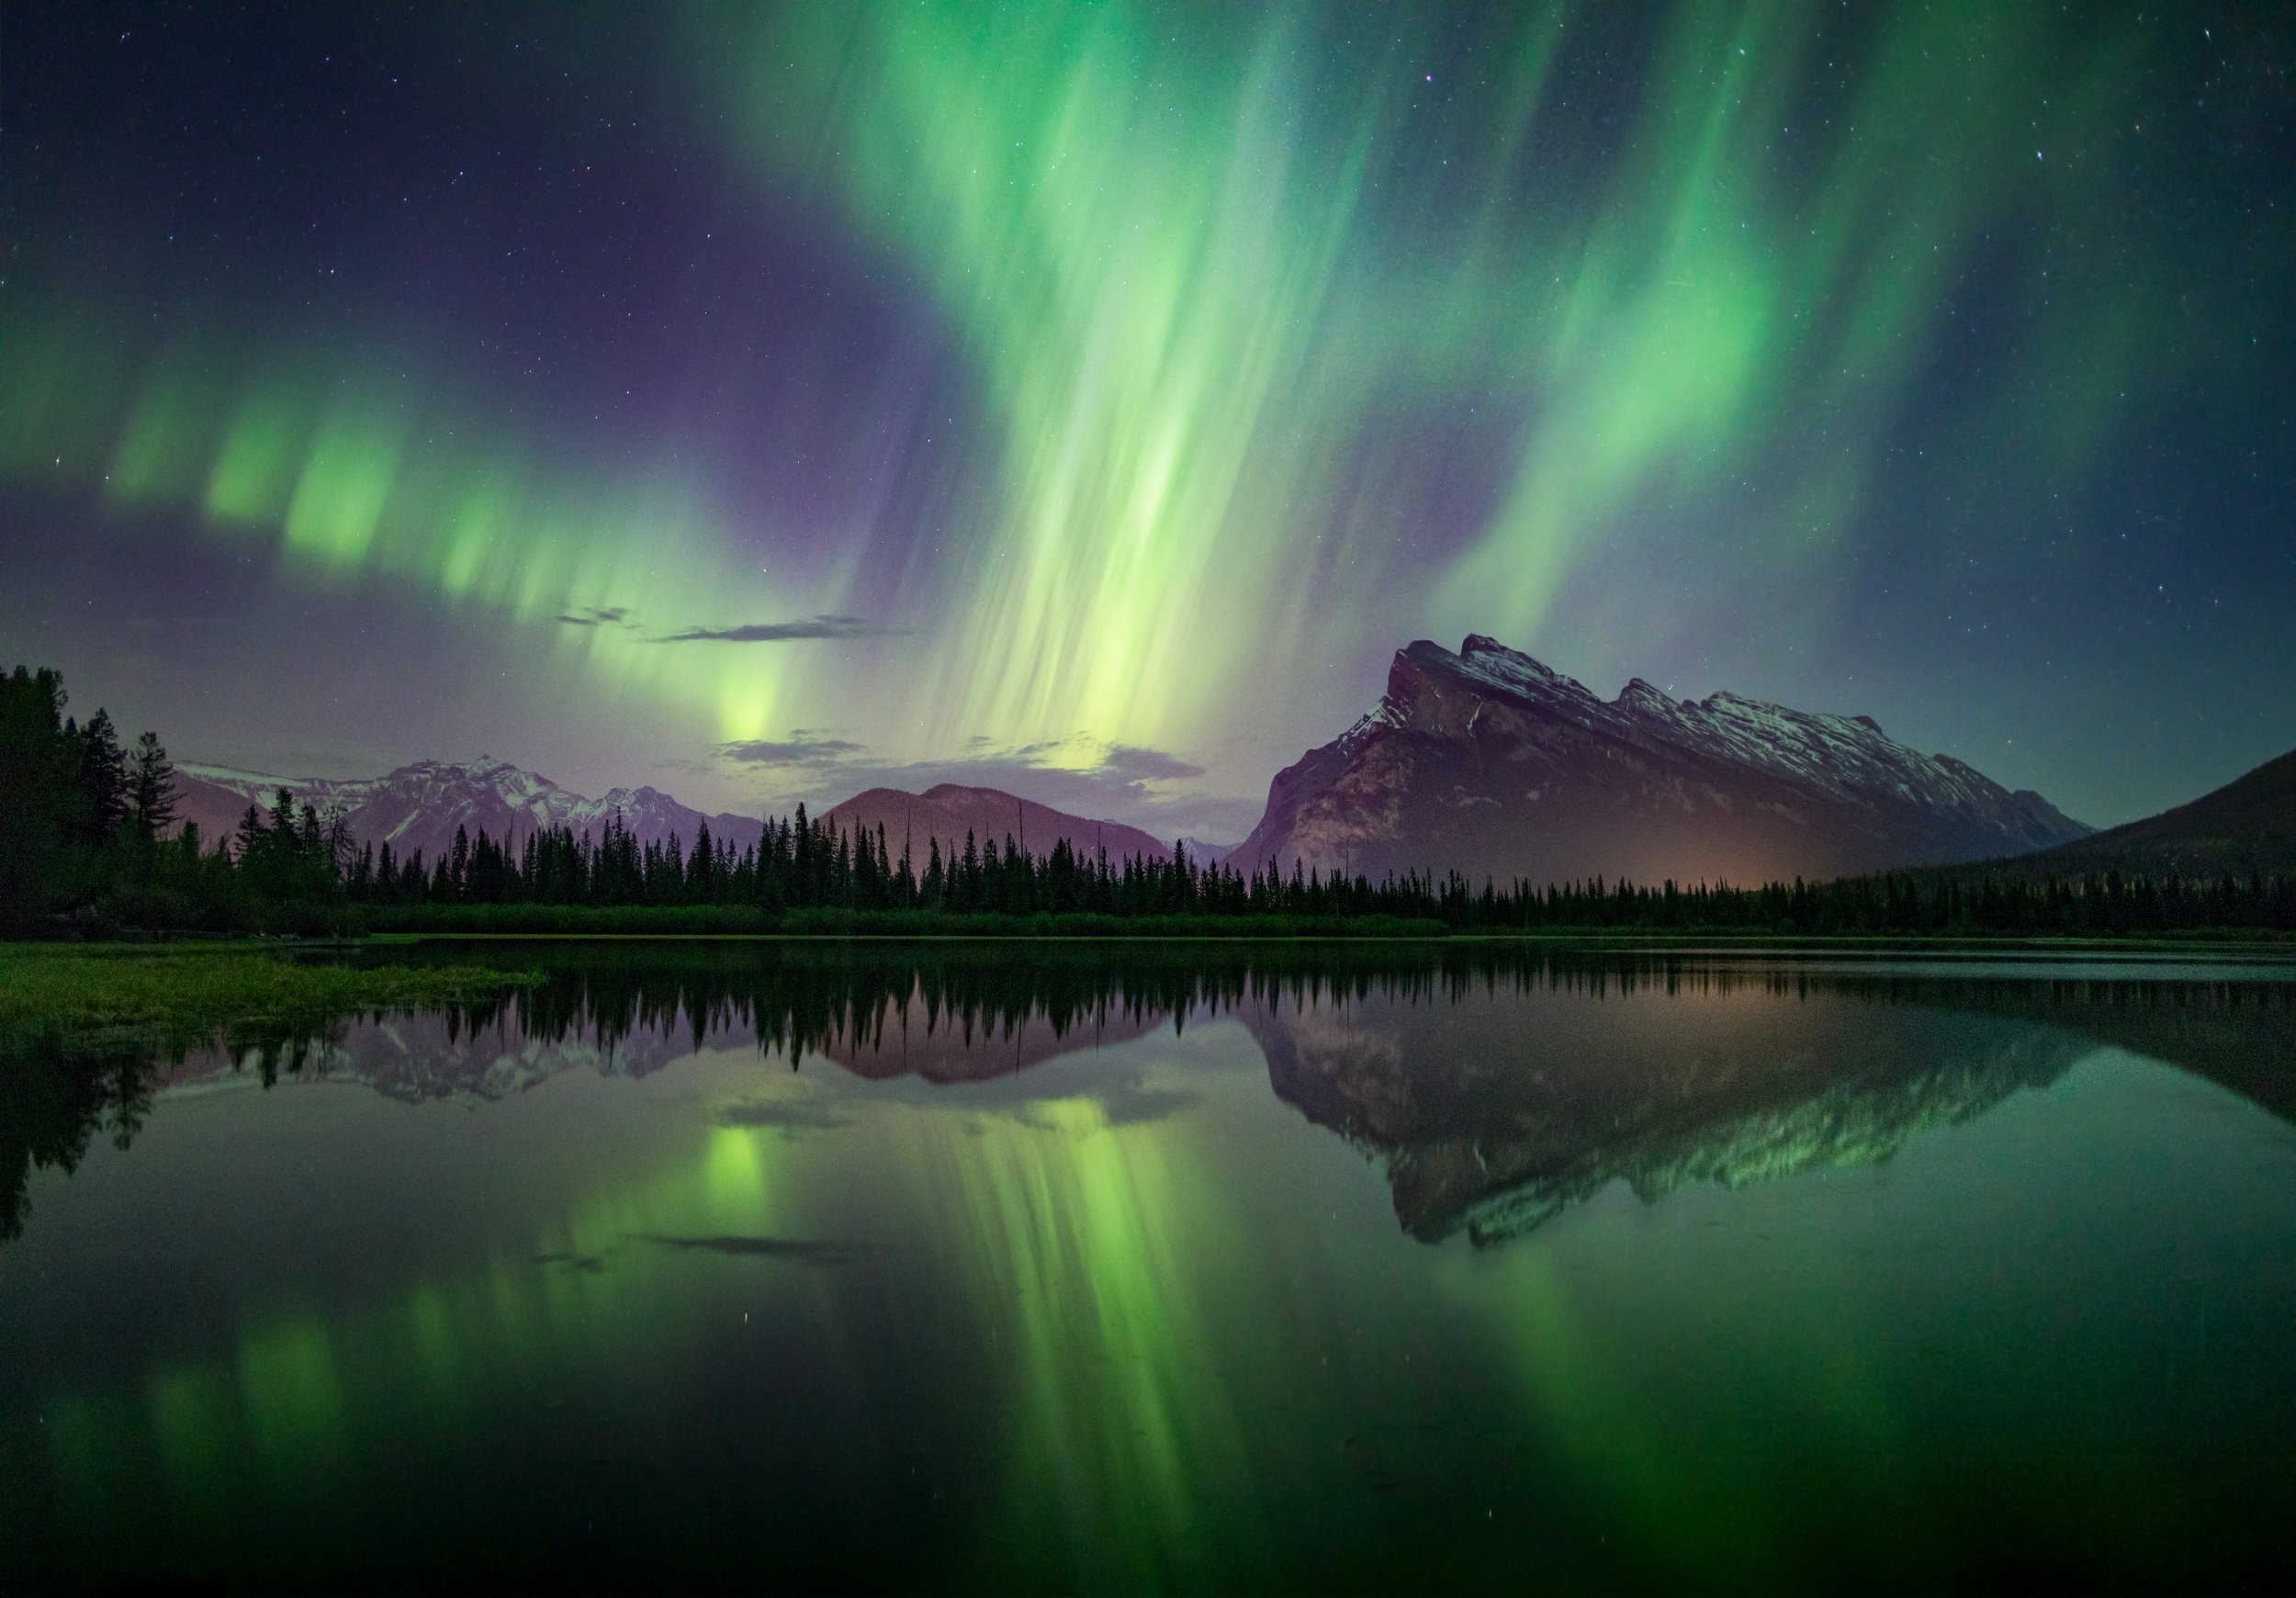
In my mind, few natural phenomena match the magic or grandeur of the aurora borealis. I’ve been actively chasing this natural wonder, also known as the Northern Lights, for over a decade. I’ve witnessed the lights materialize in an array of colours—green, purple, pink, reddish, and white—in a variety of patterns and effects, from flashing and pulsing shapes to softly flowing ribbons of light.
How does the aurora borealis occur? Here’s the oversimplified version: when charged particles from the sun strike atoms in Earth’s atmosphere, they cause electrons in the atoms to move to a higher-energy state. When the electrons drop back to a lower energy state, they release photons (light). The wavelength of the photon determines the colour we will see, and the wavelength of the photon depends on the gas that’s being excited. Oxygen will emit green/yellow or red, ionized nitrogen will emit purple, nitrogen will emit light blue, and the other colours are caused by a blending of the two, among other factors.
Understanding the science behind the northern lights doesn’t guarantee that you will be able to see or photograph them. Based on my experience chasing the lights, here are my top 5 tips for increasing your chances of viewing and/or photographing the northern lights.
For a deeper look including tips for reading data, post-processing tips, and a thorough list of resources, check out my eBook: Guide to Viewing and Photographing the Northern Lights (use checkout code AURORAWATCH15 to save 15%!)
1. Understand Your Chances
Your chances of catching the northern lights depend on four factors aligning:
Northern lights activity
Clear skies
Unobstructed views north
Little light pollution.
Put simply, you need the lights to be active, but you also need to be able to see them.
Vermilion Lakes and Mount Rundle, Banff National Park. Photo by Paul Zizka.
2. Get the Right Tools for the Job
Set yourself up for success with the tools and gear that will help you achieve your goal. It doesn’t necessarily need to be the latest or most expensive gear either.
For viewing the northern lights, you’ll need:
A headlamp to help you navigate in the dark.
Access to aurora data or experts (find a list in my eBook!)
Don’t leave without gear and clothing to keep you comfortable including warm layers, warm footwear (cold feet are the beginning of the end!), and hand warmers or heating packs.
For photographing the northern lights:
A DSLR or mirrorless camera that can handle low-light situations
A lens with a fast aperture (ideally 2.8) and wide field of view (ie. 14-18 mm on a full-frame camera)
A sturdy tripod that you can adjust efficiently
For self-portraits or time-lapse: An intervalometer that enables you to program exposures ahead of time (some cameras have this built-in)
A bright headlamp (ideally 200 lumens+ with various beam shapes and power levels plus a red light setting) is useful for focusing images or illuminating subjects. Extra light sources like a Lume Cube can also be handy.
Use code PAULZIZKAPHOTO to save 10% on Lume Cube products.
Self-portrait, Banff National Park. Photo by Paul Zizka.
3. Plan Ahead
Preparation is key, especially when you want to savour every moment the lights are dancing above you.
Scout north-facing locations in the daytime to get a lay of the land and keep a few of these locations in your back pocket. Photographers may even wish to create a visual inventory of compositions in each bookmarked location.
Have a safety plan in place, particularly if you’re going to a remote location on a cold night. This includes packing a first-aid kit, means of communication, and bear spray as well as letting someone at home know what your plans are.
It’s best to be ready for the northern lights at a moment’s notice. Keep your devices and batteries fully charged so they are ready to grab and go at a moment’s notice. It’s also helpful to store spare batteries in warm pockets while in the field.
Ice climber under the aurora. Photo by Paul Zizka.
4. Take Technical Considerations
Photographers chasing the northern lights should keep in mind that night photography can be challenging and time-consuming. Here are some tips that have helped me come away with better images:
Shoot raw to give yourself as much data to work with in the editing room.
Rely on your histogram rather than your LCD to avoid going home with overly dark images.
Turn off auto ISO and shoot in manual mode. I’ve found that taking full control of the settings works better in night photography situations.
Use your lens hood to block stray light.
Use a two-second timer or trigger the shot with an intervalometer as the act of pressing the shutter button can be enough to introduce camera shake.
Download my eBook: Guide to Viewing and Photographing the Northern Lights where I provide my starting settings to help to you get off on the right foot. (Use checkout code AURORAWATCH15 to save 15%!)
A curtain of lights in Greenland. Photo by Paul Zizka.
5. Commit the Time
Remember that catching the aurora borealis requires patience and persistence. There are so many factors that need to align to catch a good show, so don’t be discouraged if it takes multiple tries. Enjoy the thrill of the chase and stick with it!
Walking away from a northern lights show with strong photographs takes time too. The “spray and pray” technique that is often employed during the day simply doesn’t work at night due to the time-consuming nature of long exposures and astrophotography. Don’t be afraid to commit as much as 30 minutes to a single frame. The more you practice, the more efficient you will be when Mother Nature shows off her beauty.
And whatever the results, I hope you’ll put your experience in nature ahead of the images.
Daughter’s first aurora. Self-portrait by Paul Zizka.
For a deeper look including tips for reading data, post-processing tips, and a thorough list of resources, check out my eBook: Guide to Viewing and Photographing the Northern Lights (use checkout code AURORAWATCH15 to save 15%!)
Learn more:
Take a peek at my gear list to see what I rely on in the field.
Learn astrophotography techniques in-person at my Banff at Night workshop or online through my Shooting Stars: The Art of Astrophotography course.
Check out my 10 Favourite Places to Shoot the Northern Lights.


